

Use Web Media Projection to resolve web media
Bind Web Media Projection to a WebDAV folder, create .wm marker files, edit rules in Text Editor, refresh projected results, and open discovered media files in Zwind Browser.
Web Media Projection turns a web media listing into a virtual WebDAV folder. You bind the resolver to a folder such as /WebMedia, place .wm marker files in that folder, and Zwind parses the source page, item pages, and media links into folders and playable files in Browser.
The screenshots use the English app UI and a local sample page, so they do not depend on ads or changing public websites.
Before you start
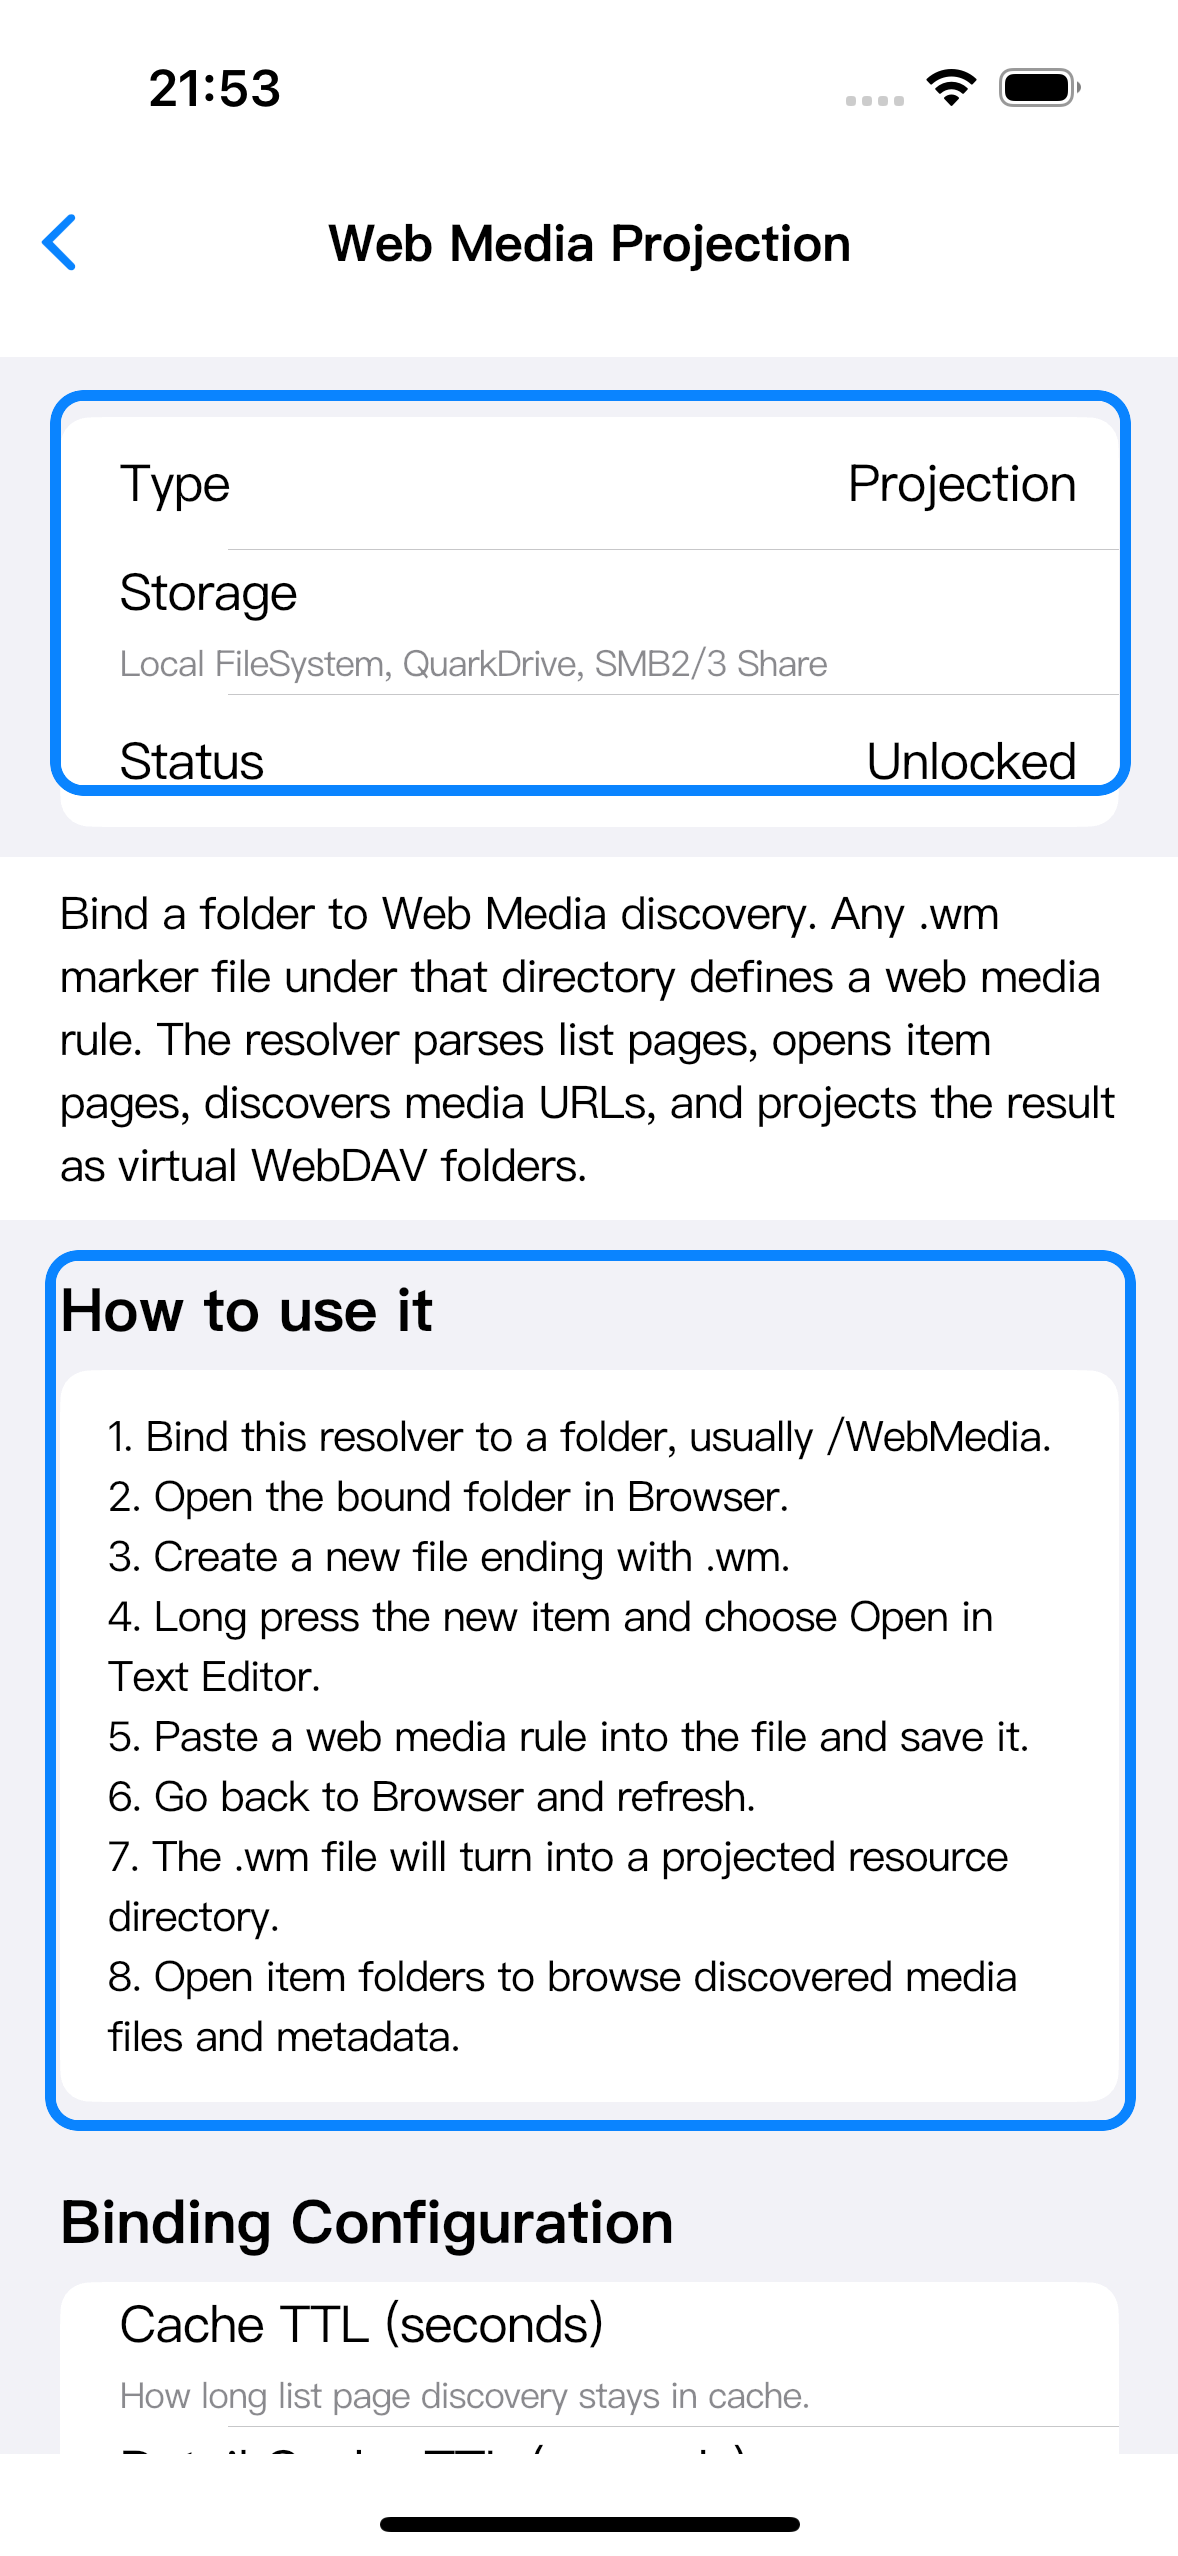
You need access to Web Media Projection. Open Explore Resolvers, choose Web Media Projection, and check the status. If it shows Unlocked, continue. If the resolver is locked, unlock that resolver or Zwind VIP from the lock prompt before saving a binding.
You also need a WebDAV server with a folder that can be exposed by that server. The binding path must be inside the server’s available WebDAV paths. If the server exposes a data folder as /Files, bind a path such as /Files/WebMedia. If the data folder itself is mounted as /WebMedia, use /WebMedia.
Bind Web Media Projection to a folder
Open the server settings. In Resolver Bindings, tap Add, choose Web Media Projection, keep it enabled, and set Path to the folder where .wm files will live. A common path is /WebMedia.
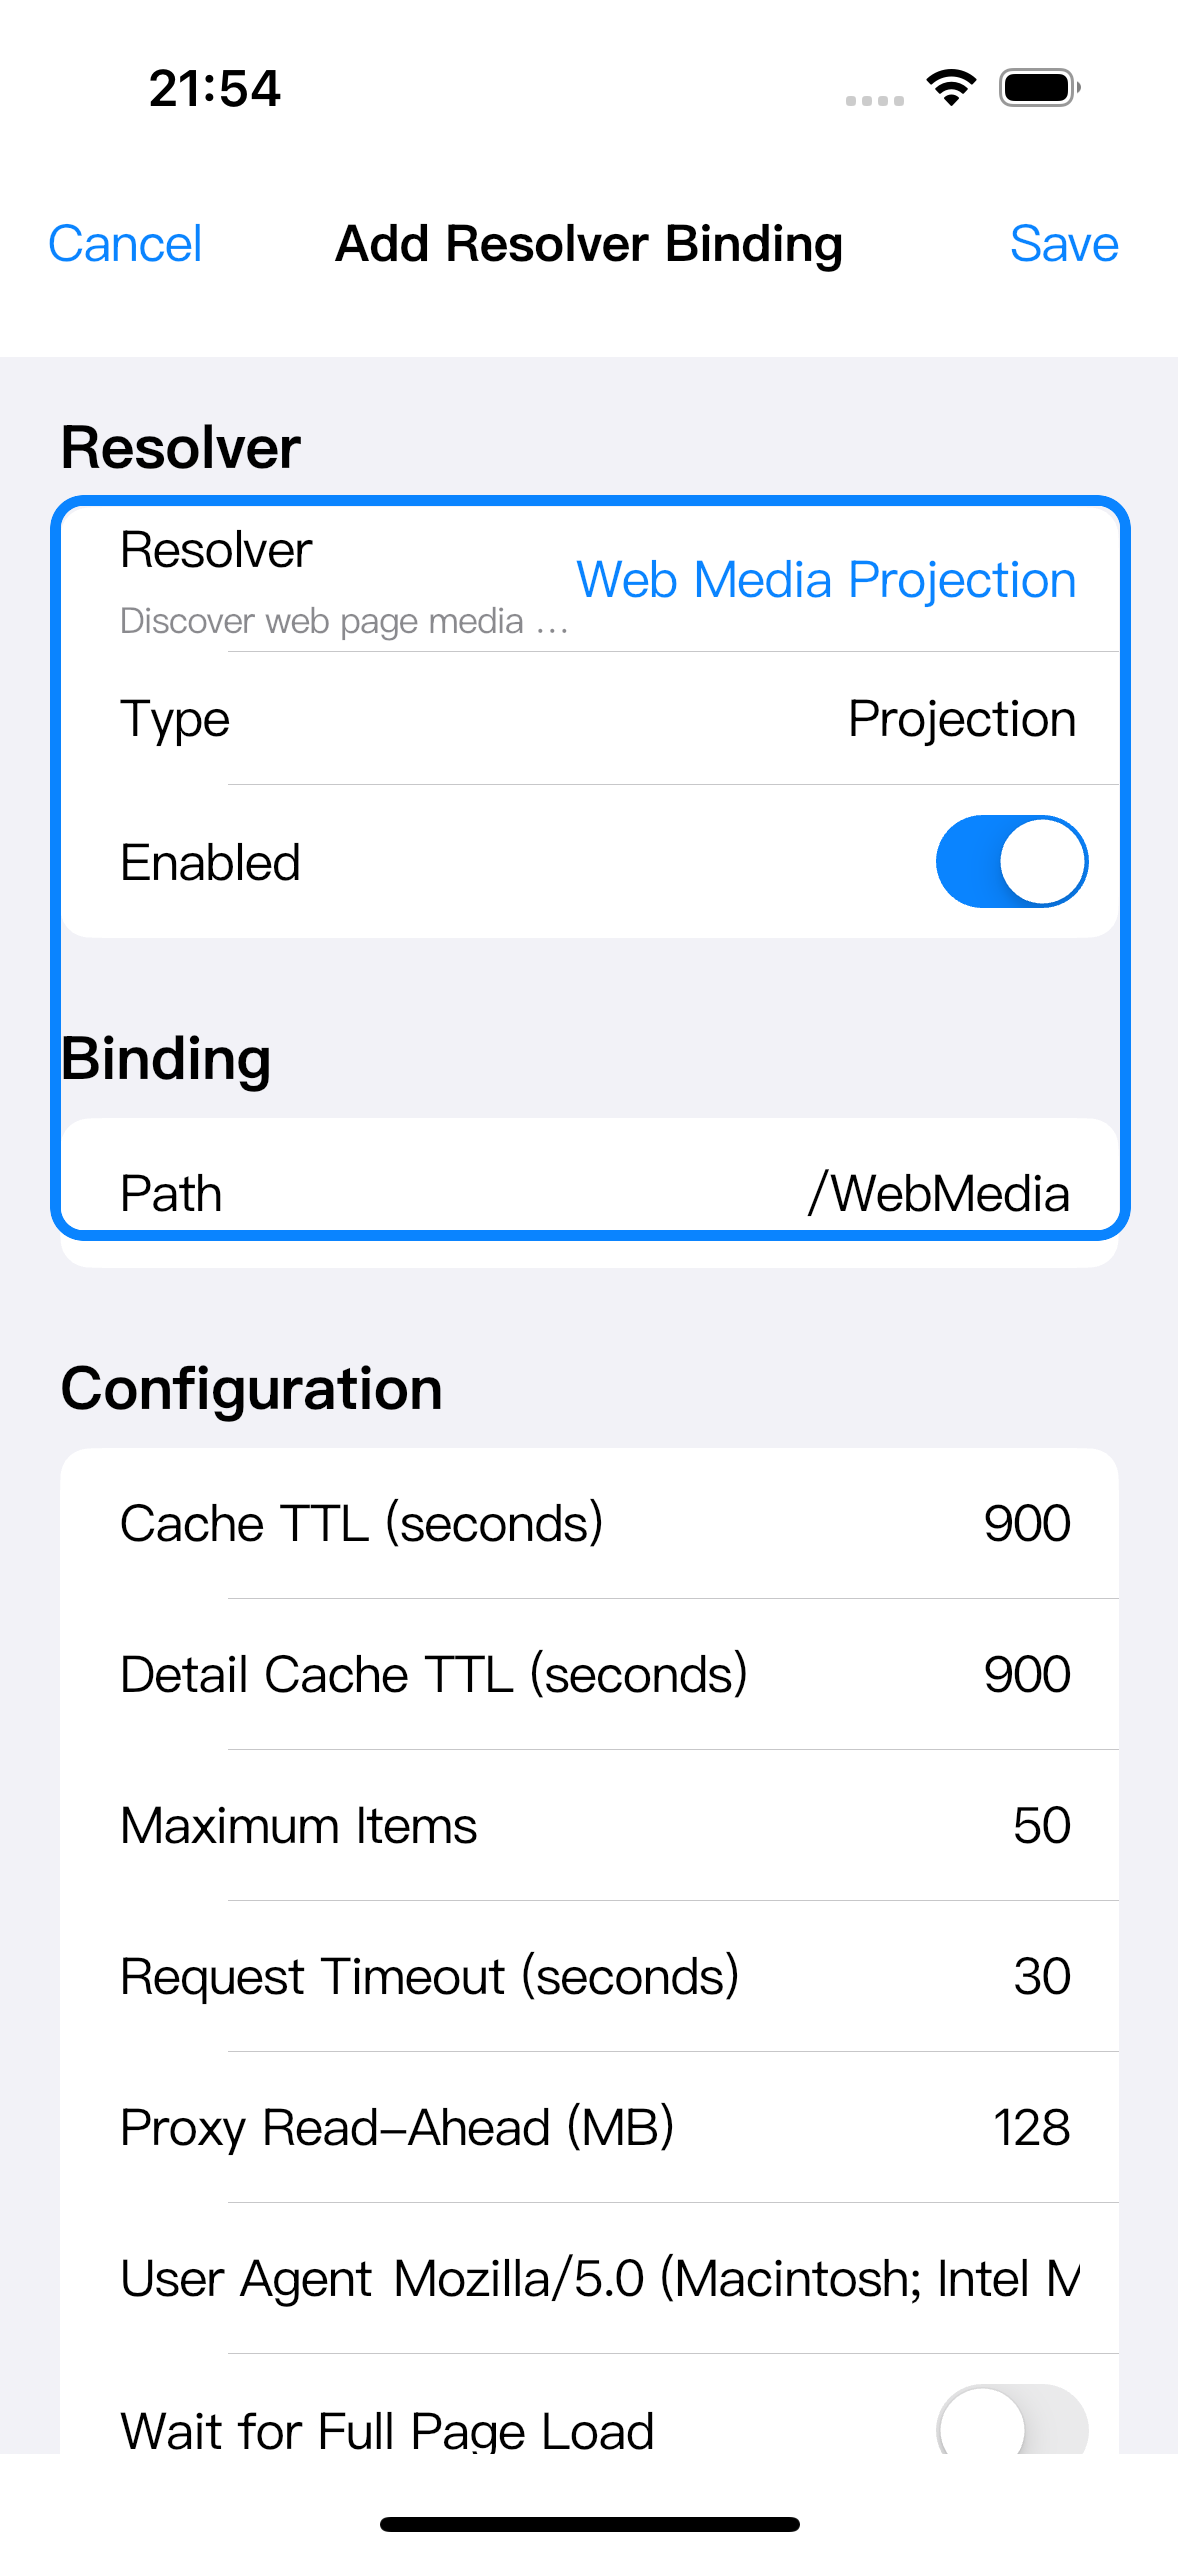
Save the binding, then save the server. Start or restart the server after changing resolver bindings, because the native WebDAV server reads bindings when it starts.
Create and edit a .wm marker file
Open the bound folder in Browser. Create a new text file whose name ends with .wm, for example sample-by-item.wm, shows.wm, or gallery.wm.
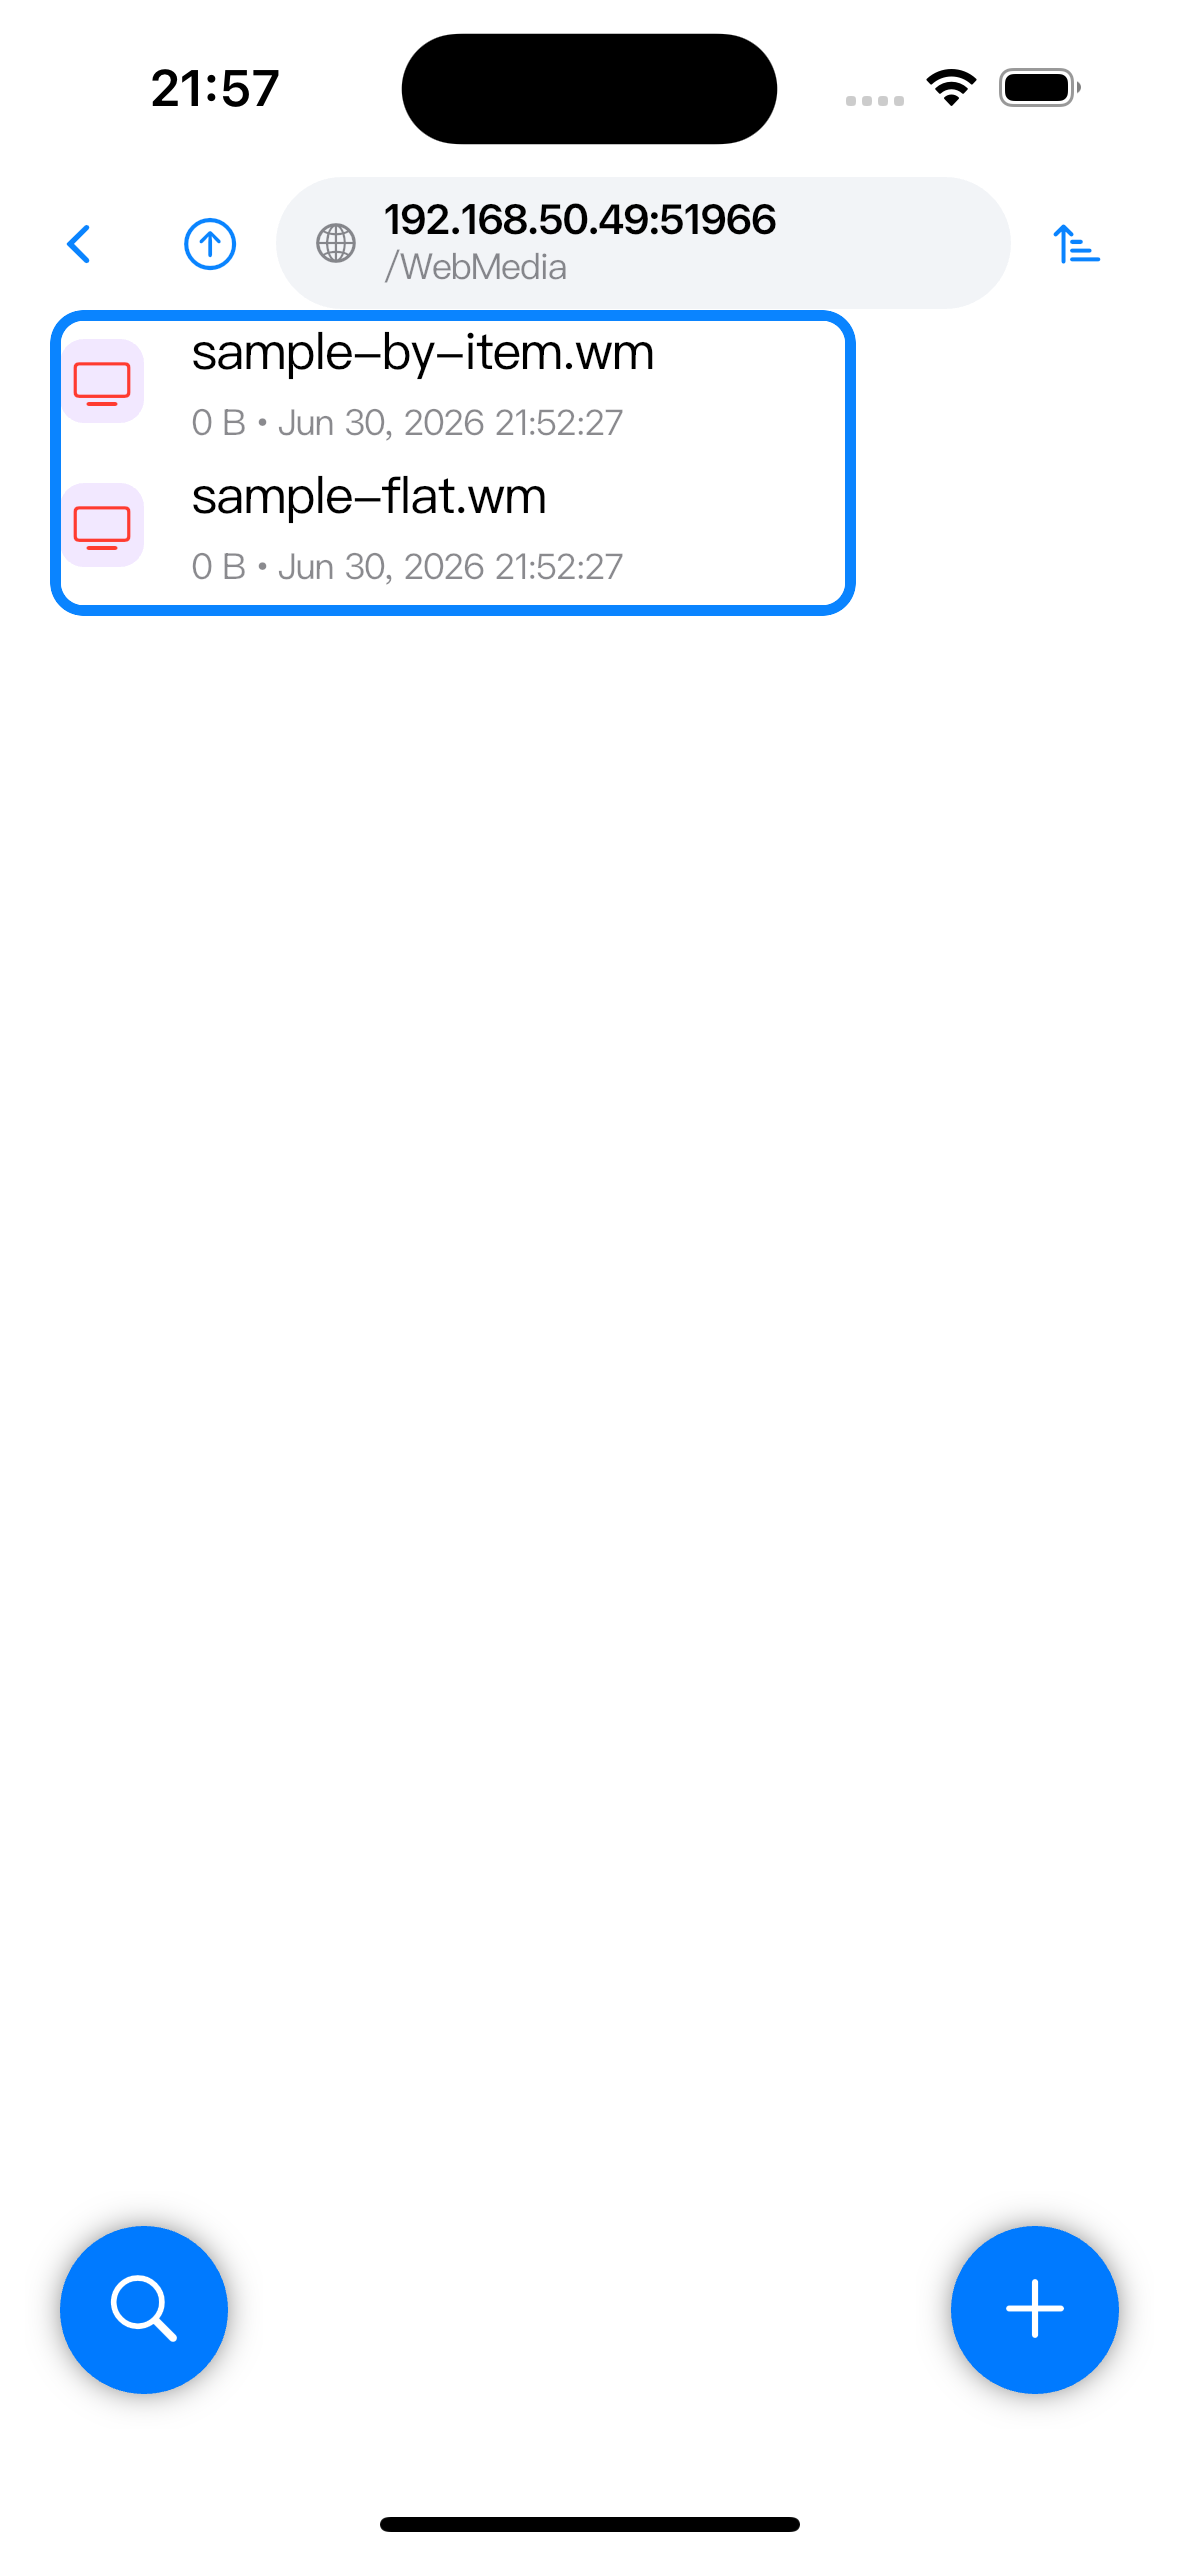
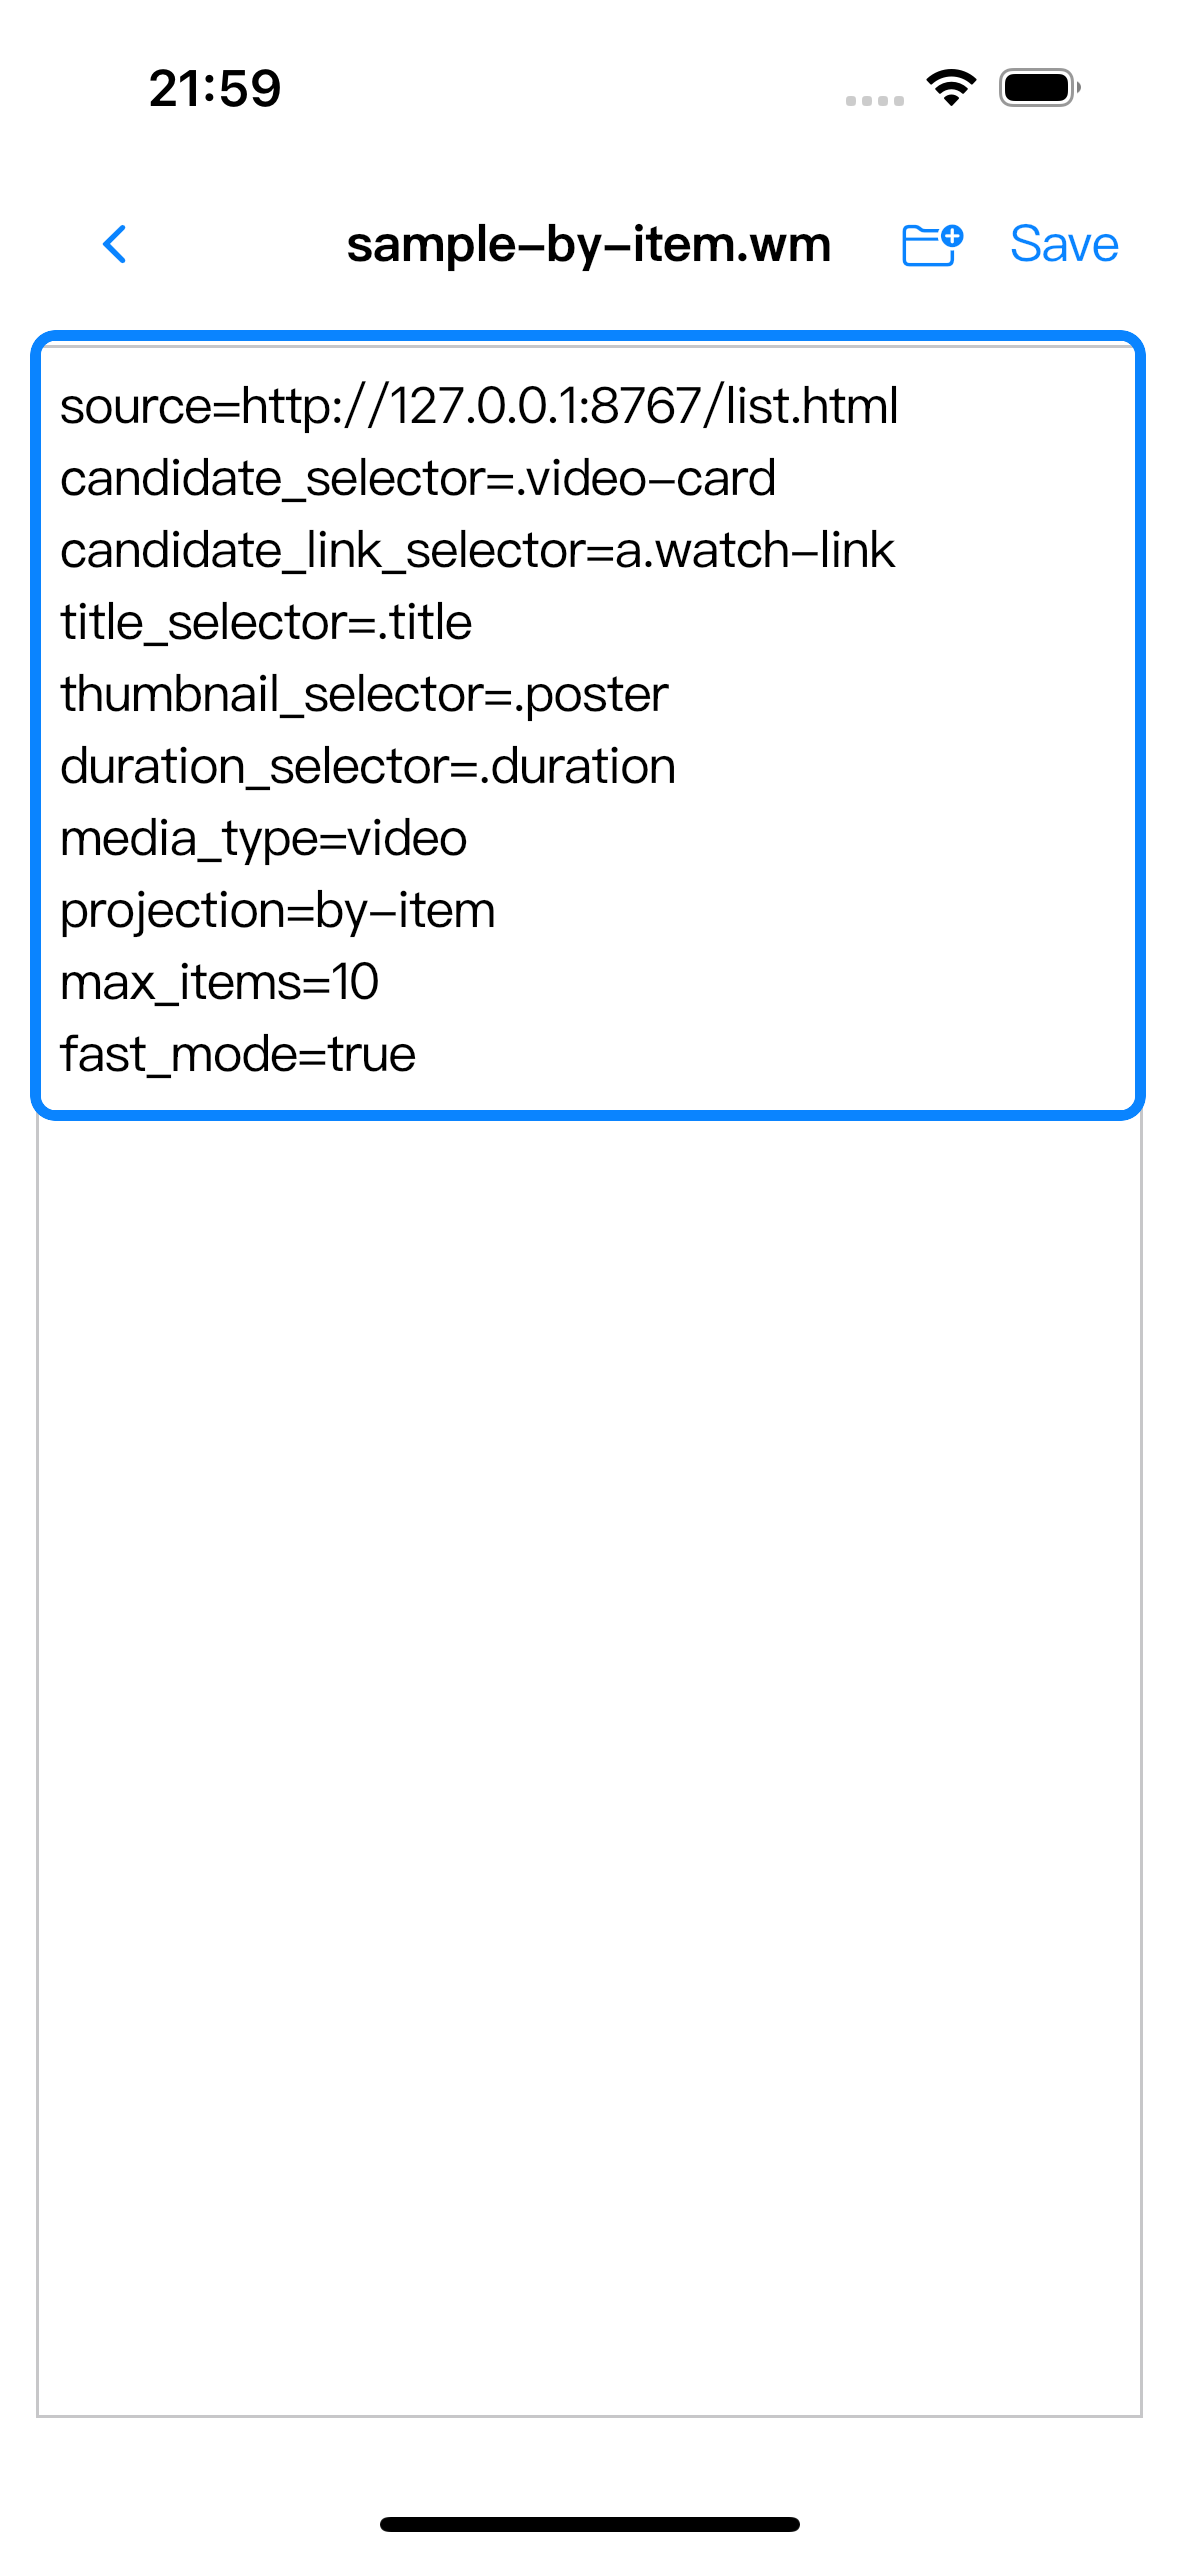
Open the marker file in Text Editor, paste or edit the Web Media rule, then tap Save. The file content describes the source page and how Zwind should find media, but this guide treats it as a prepared rule. The field-by-field rule reference is covered in the separate .wm rule guide.
You can create .wm files in Browser, from another WebDAV client, or from Feed View. For Bilibili sources, Feed View’s Bilibili UP source can create a .wm file for an uploader, but the rest of the workflow is the same: save the marker, return to Browser, and open the projected folder.
Refresh and browse projected results
Return to Browser and refresh or re-enter the bound folder. A .wm marker behaves like a projected directory. Open it to see the resolved result.
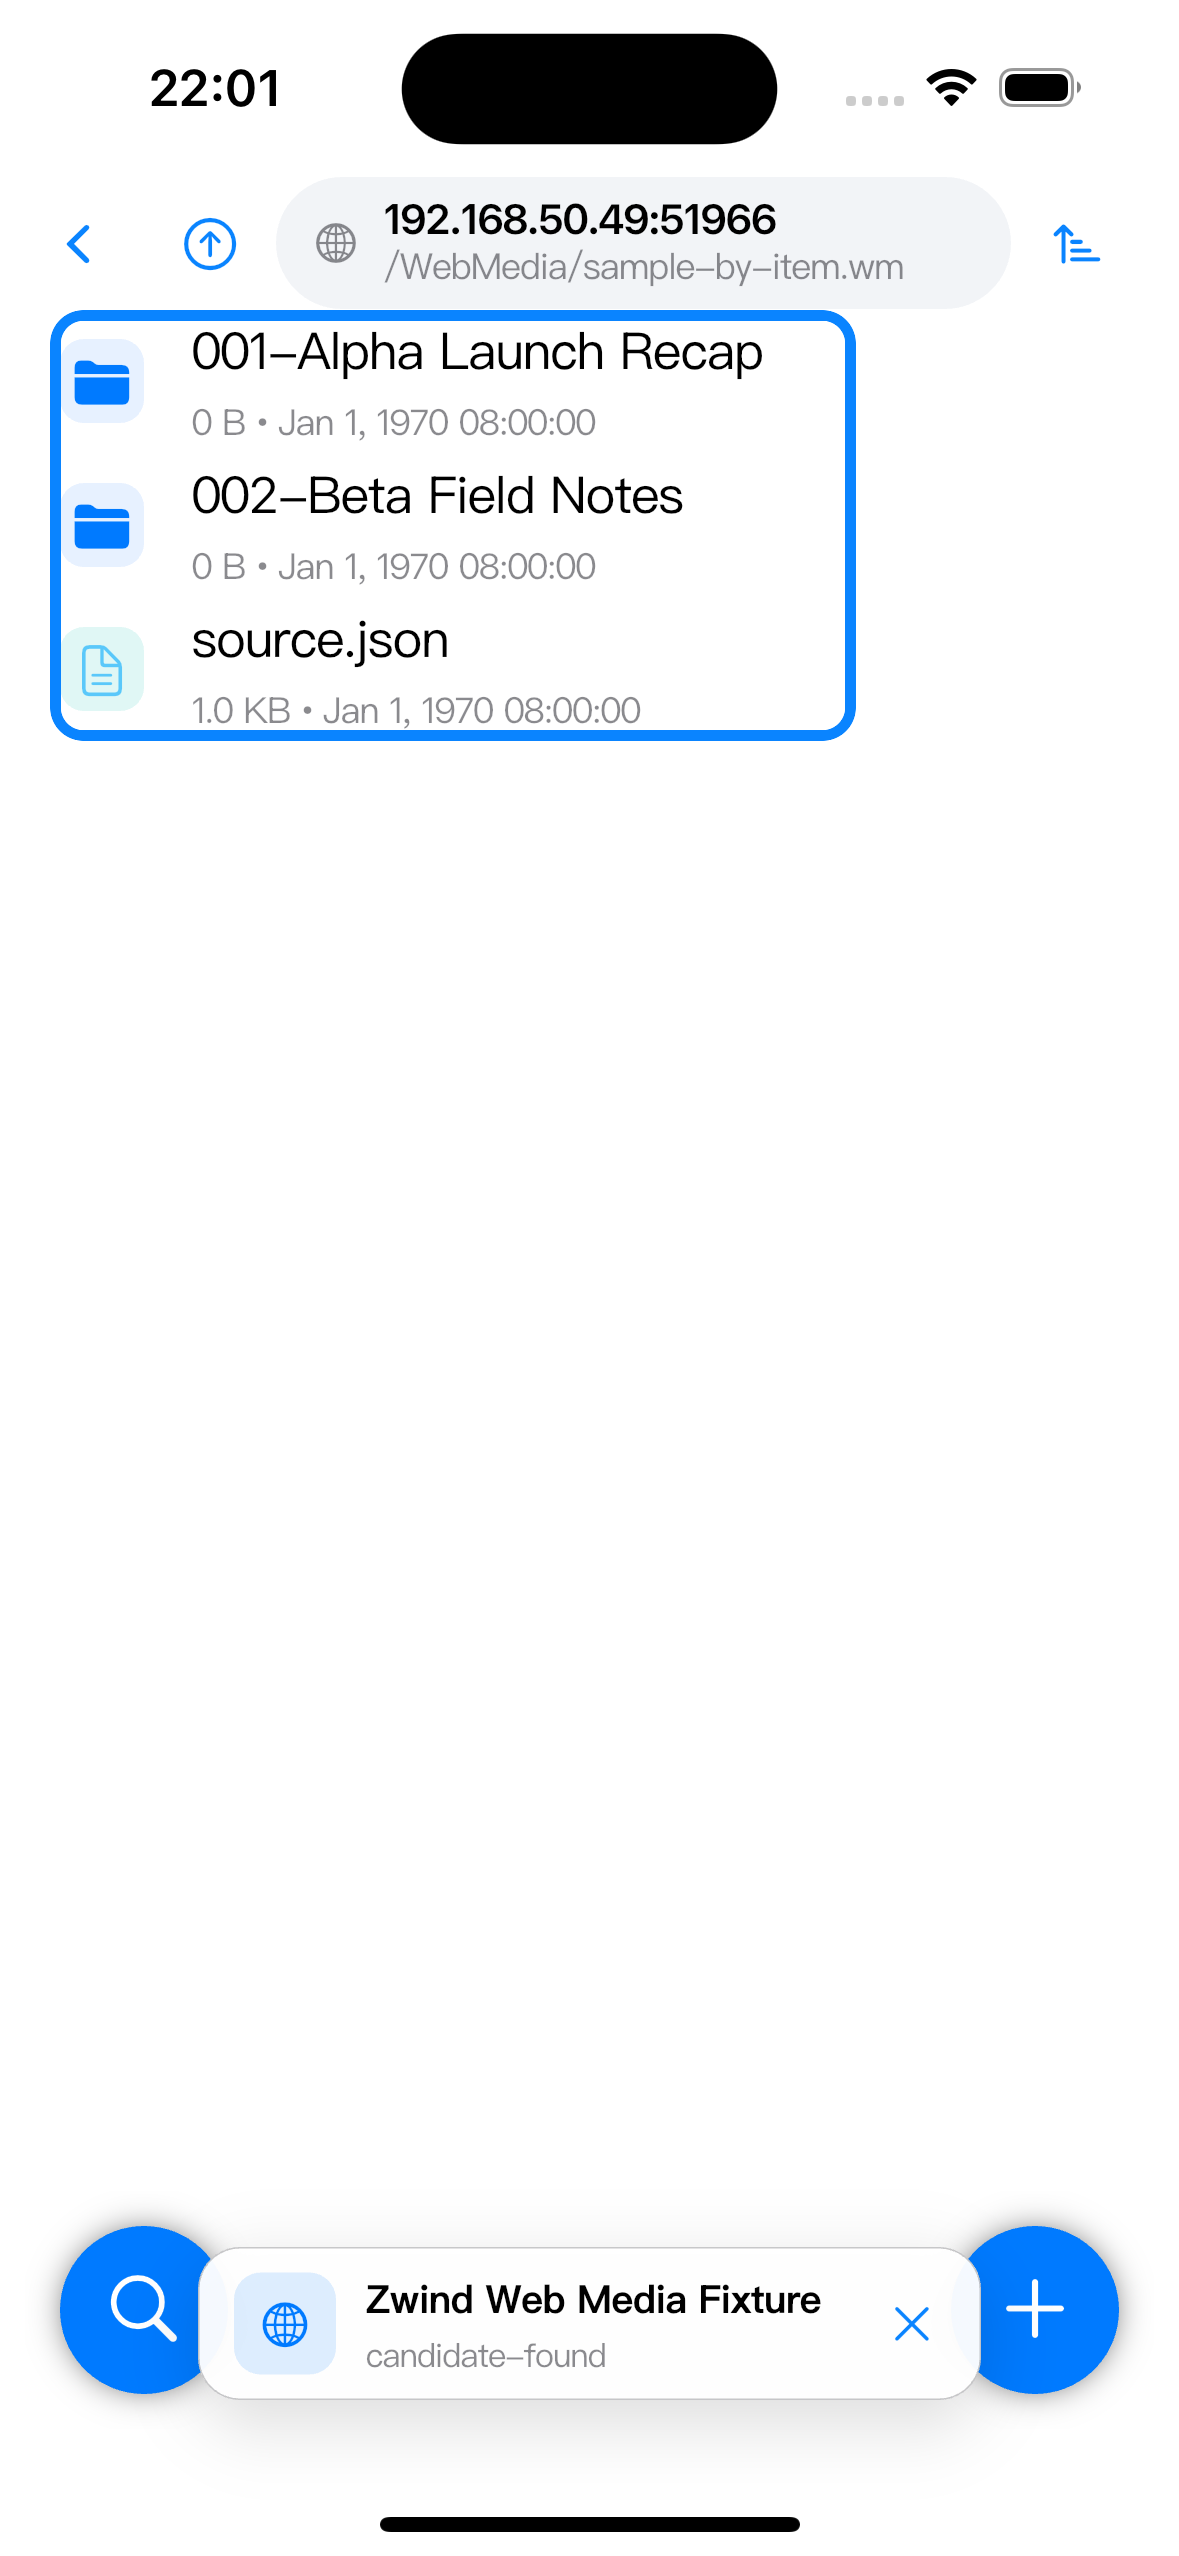
With a by-item result, each discovered entry appears as its own folder. Open an item folder to see the playable media file plus helper files such as item.json, detail.url, media.url, or thumbnail.url.
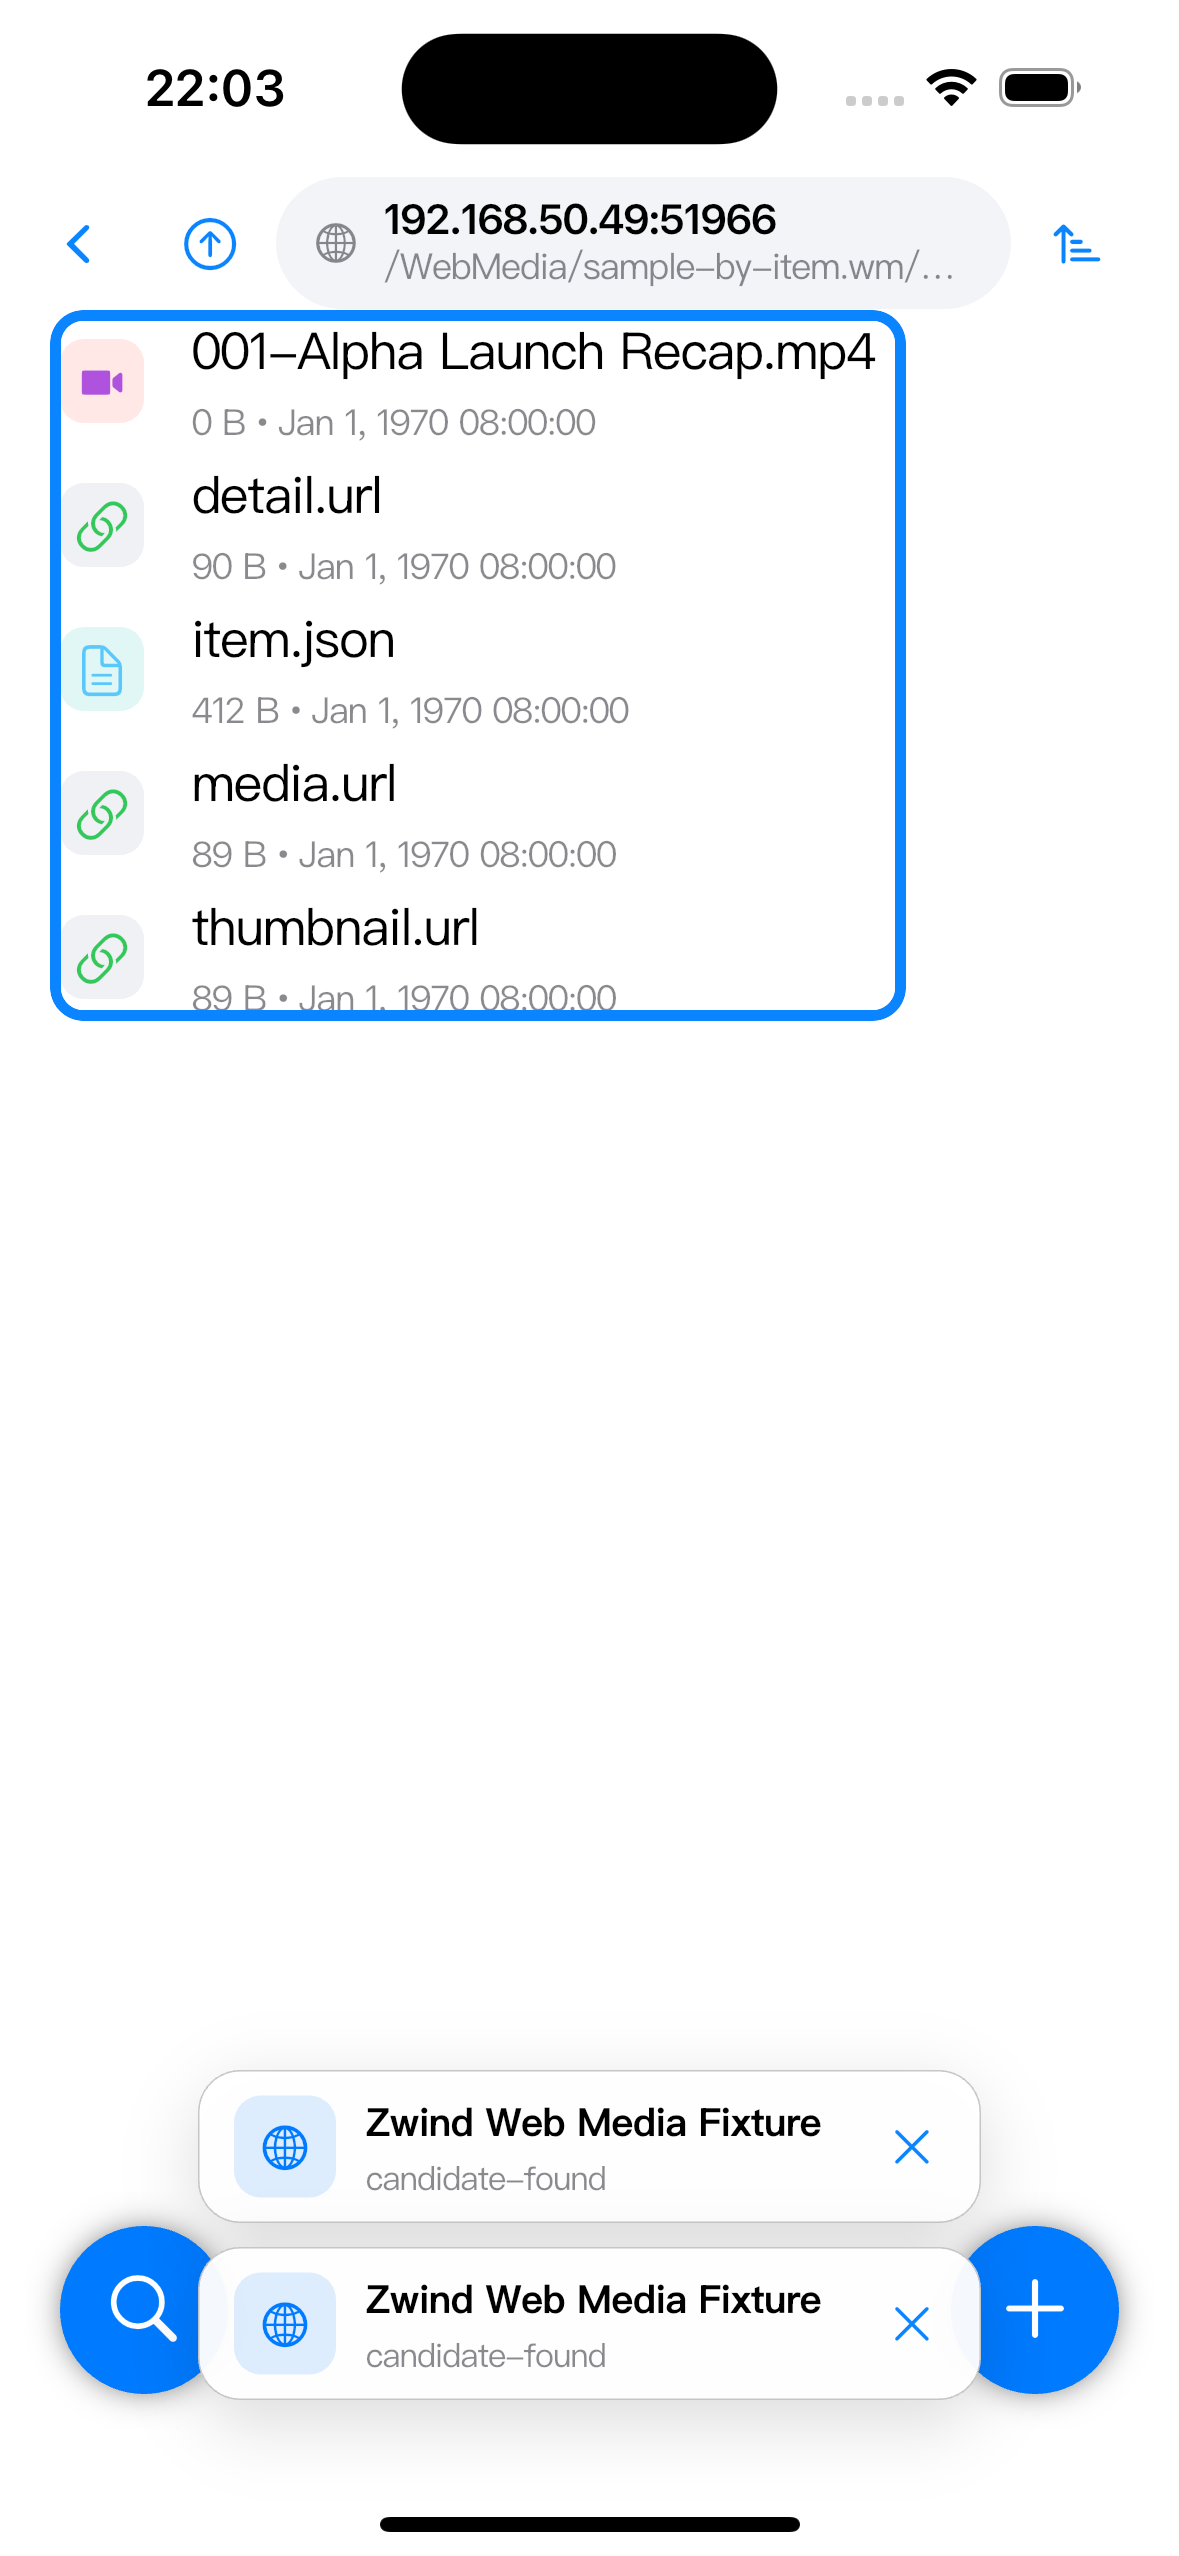
Some rules use a flat result instead. In that shape, media files appear directly inside the .wm projected directory instead of under item folders. Use by-item when you want each web entry kept together; use flat when your media client works better with one simple file list.
Re-parse when the page changes
If a website changes its layout, a saved rule may stop finding items or media. In Browser, open the Web Media path and use the bottom-right action menu. Re-parse clears the resolver’s cached result for that scope and asks Zwind to resolve the page again.
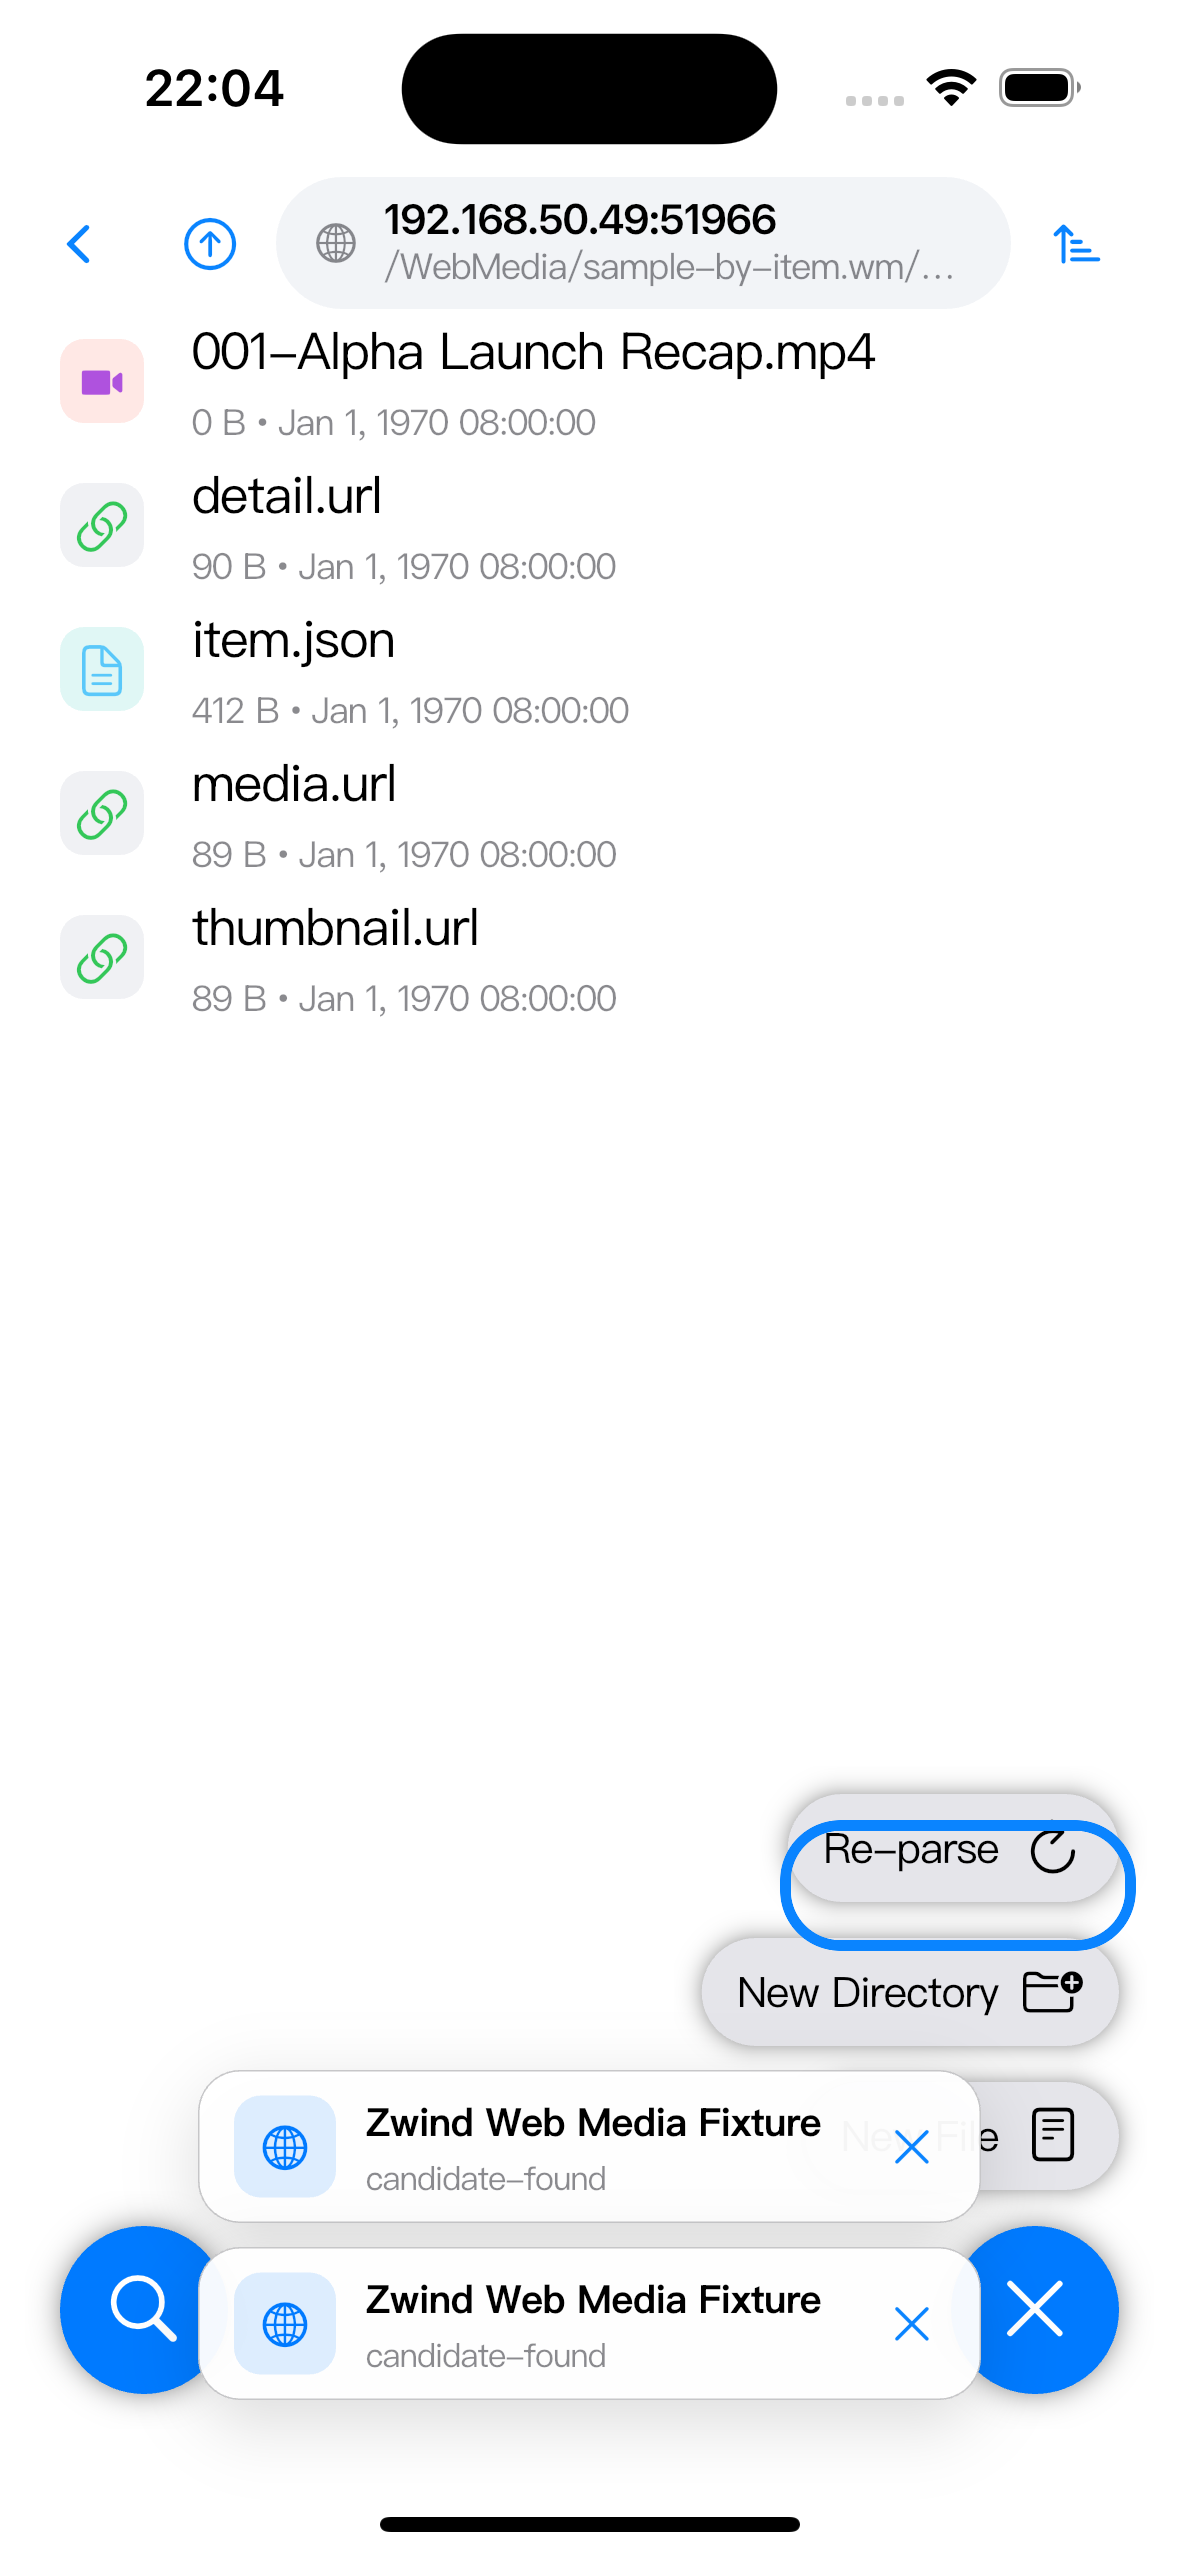
If re-parsing still does not produce the expected files, open the Web Media debug entry shown in Browser when a parsing run reports details, or copy the debug report for the person maintaining the rule. This guide stops at the user workflow; selector fields, browser runtime options, and debug report interpretation are covered in the .wm rule guide.