

Start your first server
Create a local Zwind WebDAV server, add a folder, start it, and verify access from another device.
This guide walks through the basic loop: install and open Zwind, create a local file system server, add one data folder, start the server, copy the WebDAV URL, and confirm that another device can reach it.
What you need
- Zwind installed on an iPhone or iPad.
- A Wi-Fi network where the iPhone or iPad and the second device can reach each other.
- A second device with a browser, file manager, media player, or WebDAV client.
- One local folder to expose through WebDAV.
If the client is on cellular, guest Wi-Fi, VPN, or a network that blocks device-to-device traffic, it may not be able to open the WebDAV URL even when the server is running.
1. Open Zwind and create a local server
Install Zwind from the App Store, then open it on the iPhone or iPad that will host the server. On a fresh install, finish or skip the first-run introduction, then choose Use Local Folder from the first server card. The screenshots in this guide use the English app UI; the same controls appear in the same places when the app language is Chinese.
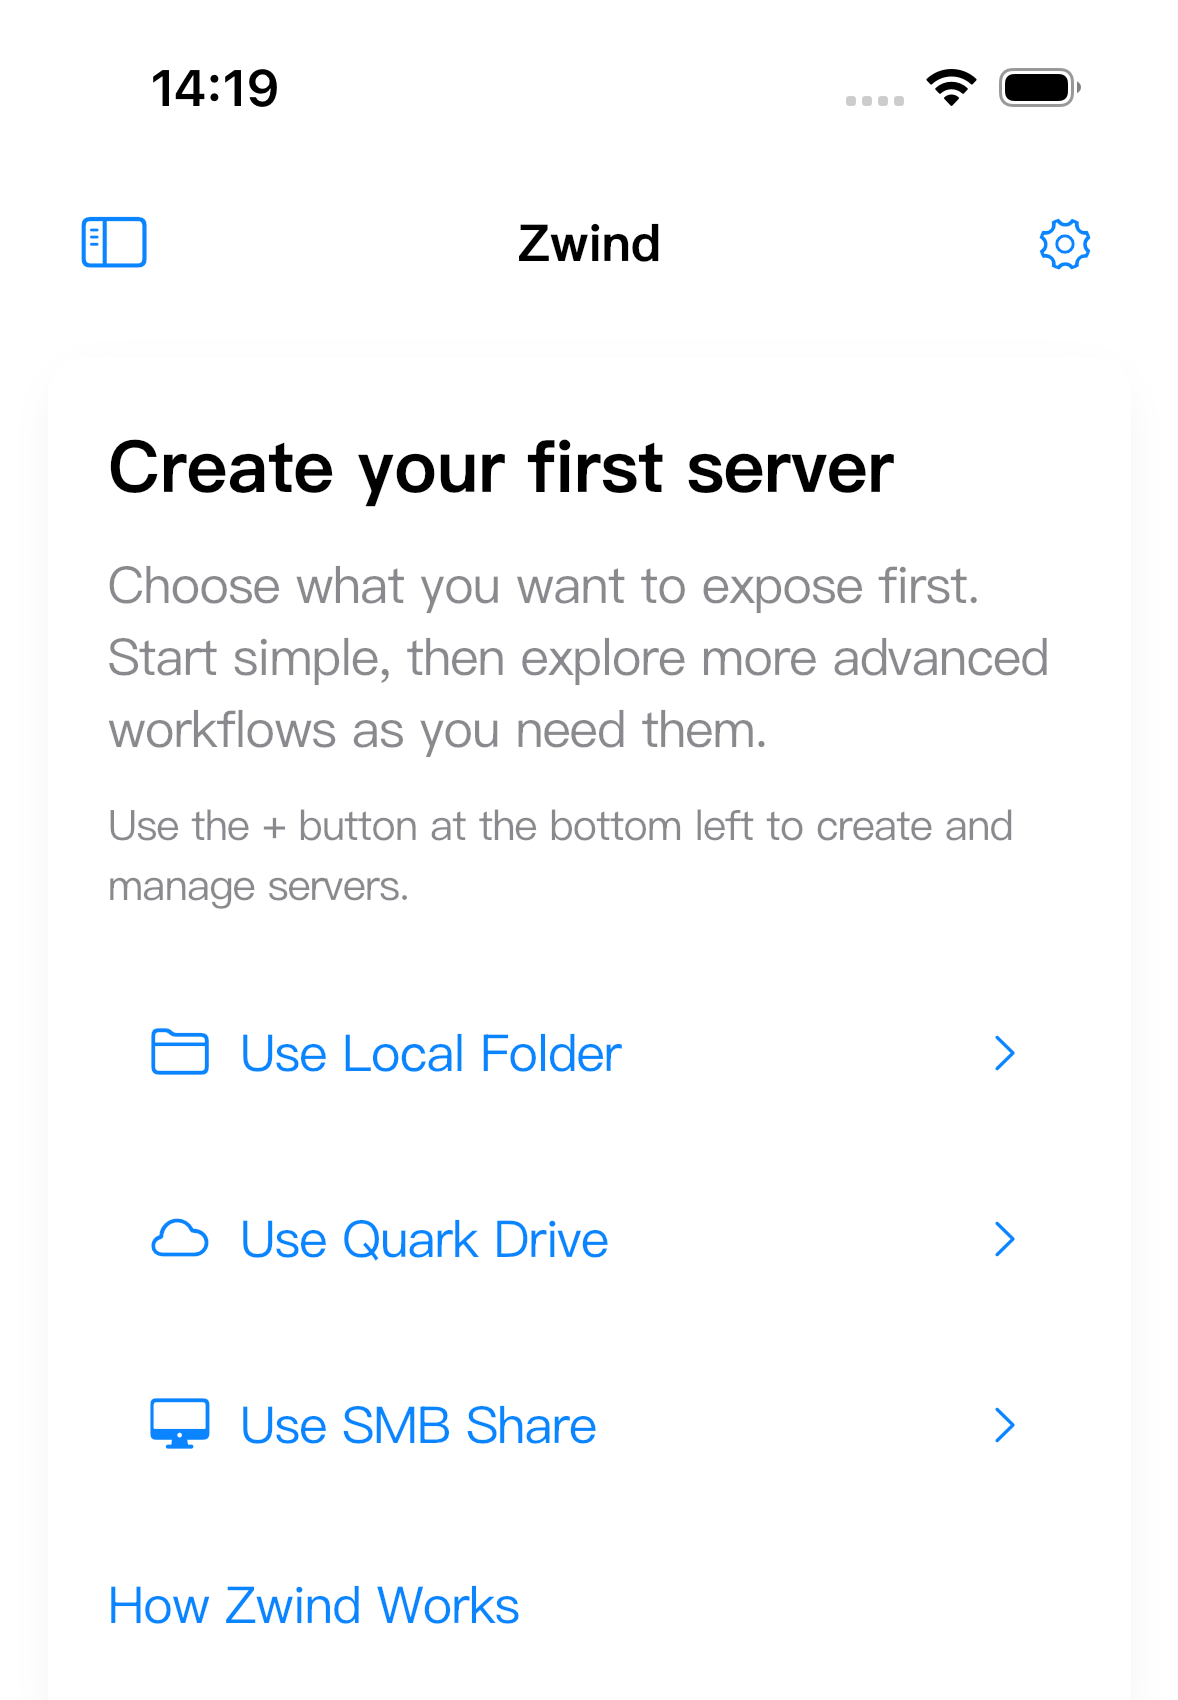
Zwind opens the server configuration screen with Local FileSystem selected. For the first run, keep the default name and storage type unless you already know what you want to change. Save the server.
2. Add one data folder
A local server needs at least one data folder before it can expose useful content. Tap Add Folder, choose a folder from the iOS file picker, and confirm with Open.
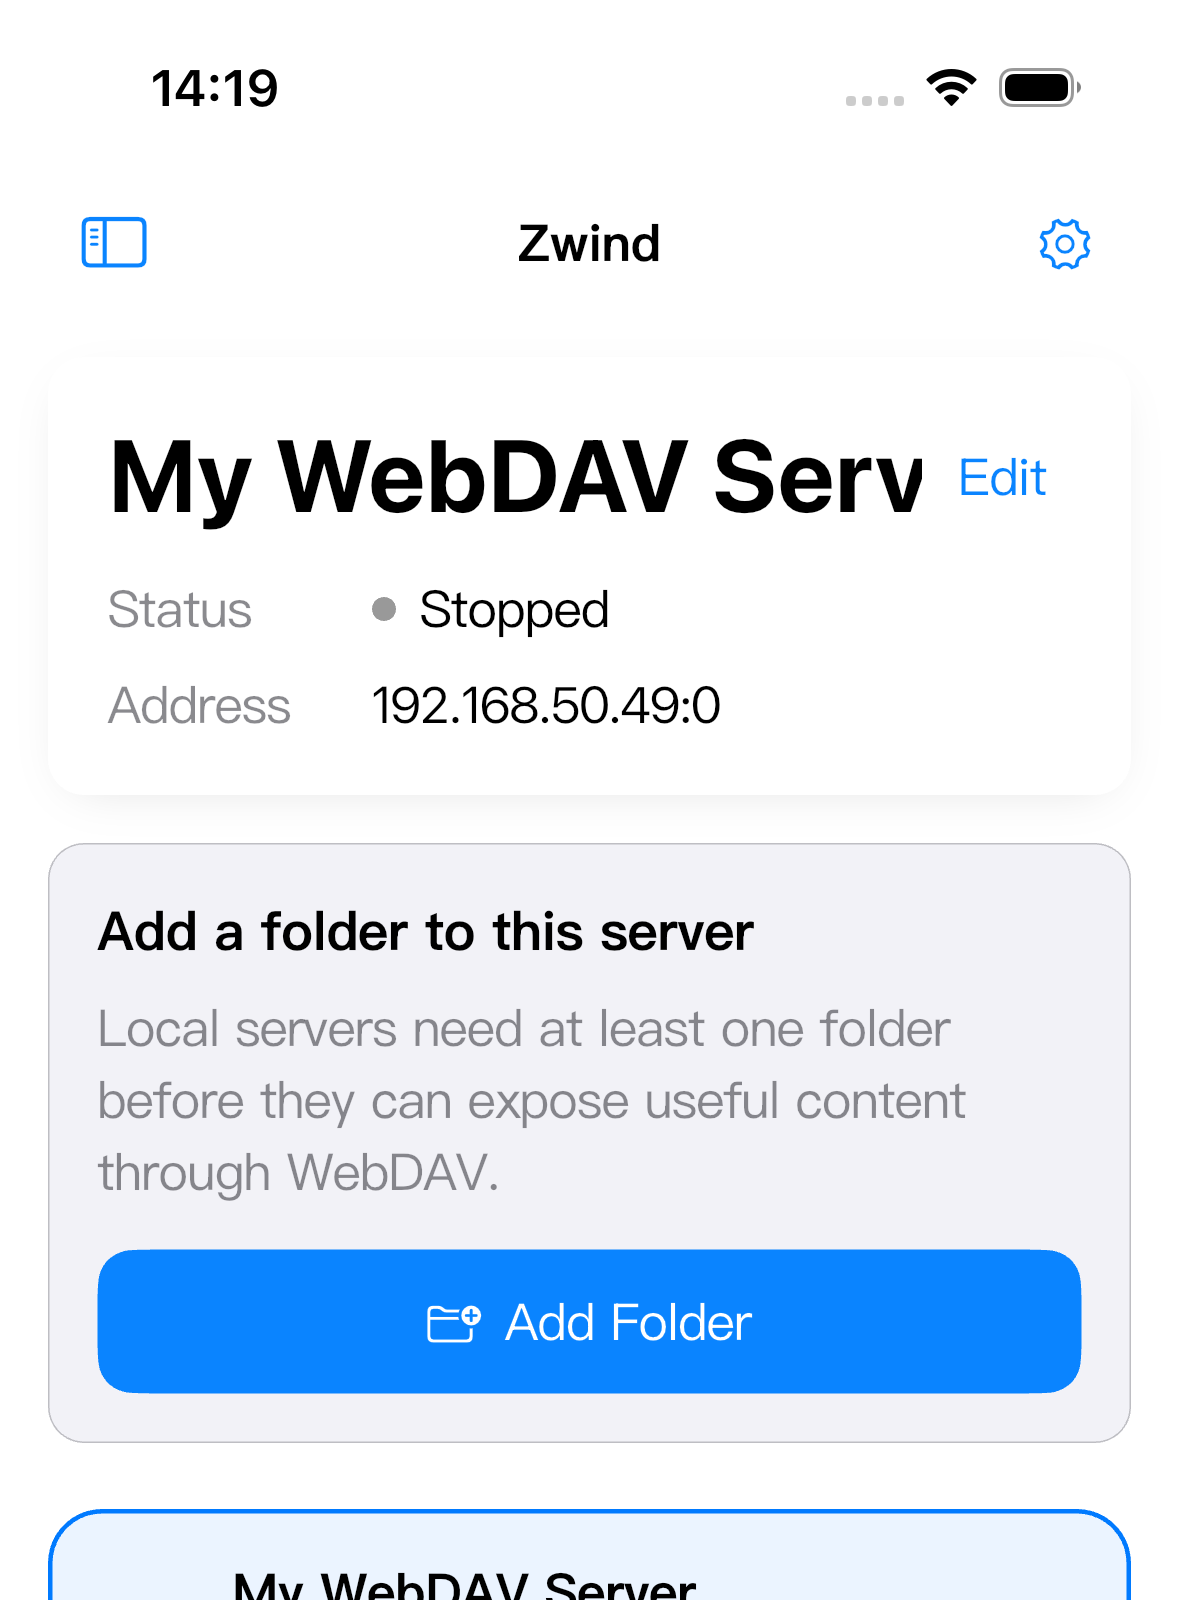
3. Start the server and copy the WebDAV URL
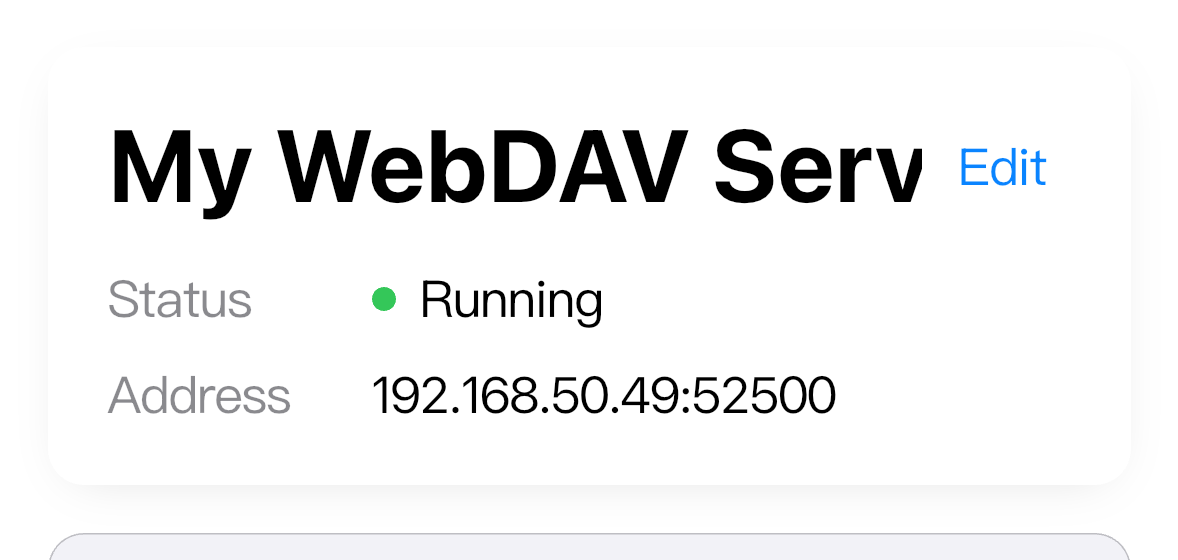
Tap Start Server. When the status changes to Running, Zwind shows the address on the selected server card.
Use the full WebDAV URL in your client:
http://<shown-ip-address>:<shown-port>For example, if Zwind shows 192.168.50.49:52500, enter http://192.168.50.49:52500. If the client asks for separate fields, use 192.168.50.49 as the host, the shown number after the colon as the port, and HTTP as the protocol.
If the server port is set to 0, Zwind asks the system for an available random port when the server starts. In that mode, use the address shown on the Running server card. If you set a fixed port in the server settings, clients can keep using that port as long as the network address and credentials still match.
4. Verify access from another device
On the second device, open the WebDAV URL in a compatible client. A desktop browser is enough for a basic reachability check, but a WebDAV-aware file manager or media player is better because it can browse folders and open files.
The first successful check is simple:
- The client connects without a timeout.
- The folder list appears.
- A test file opens or downloads.
Inside Zwind, you can also tap the data folder row to open Browser and confirm that the same folder is reachable through the running server.
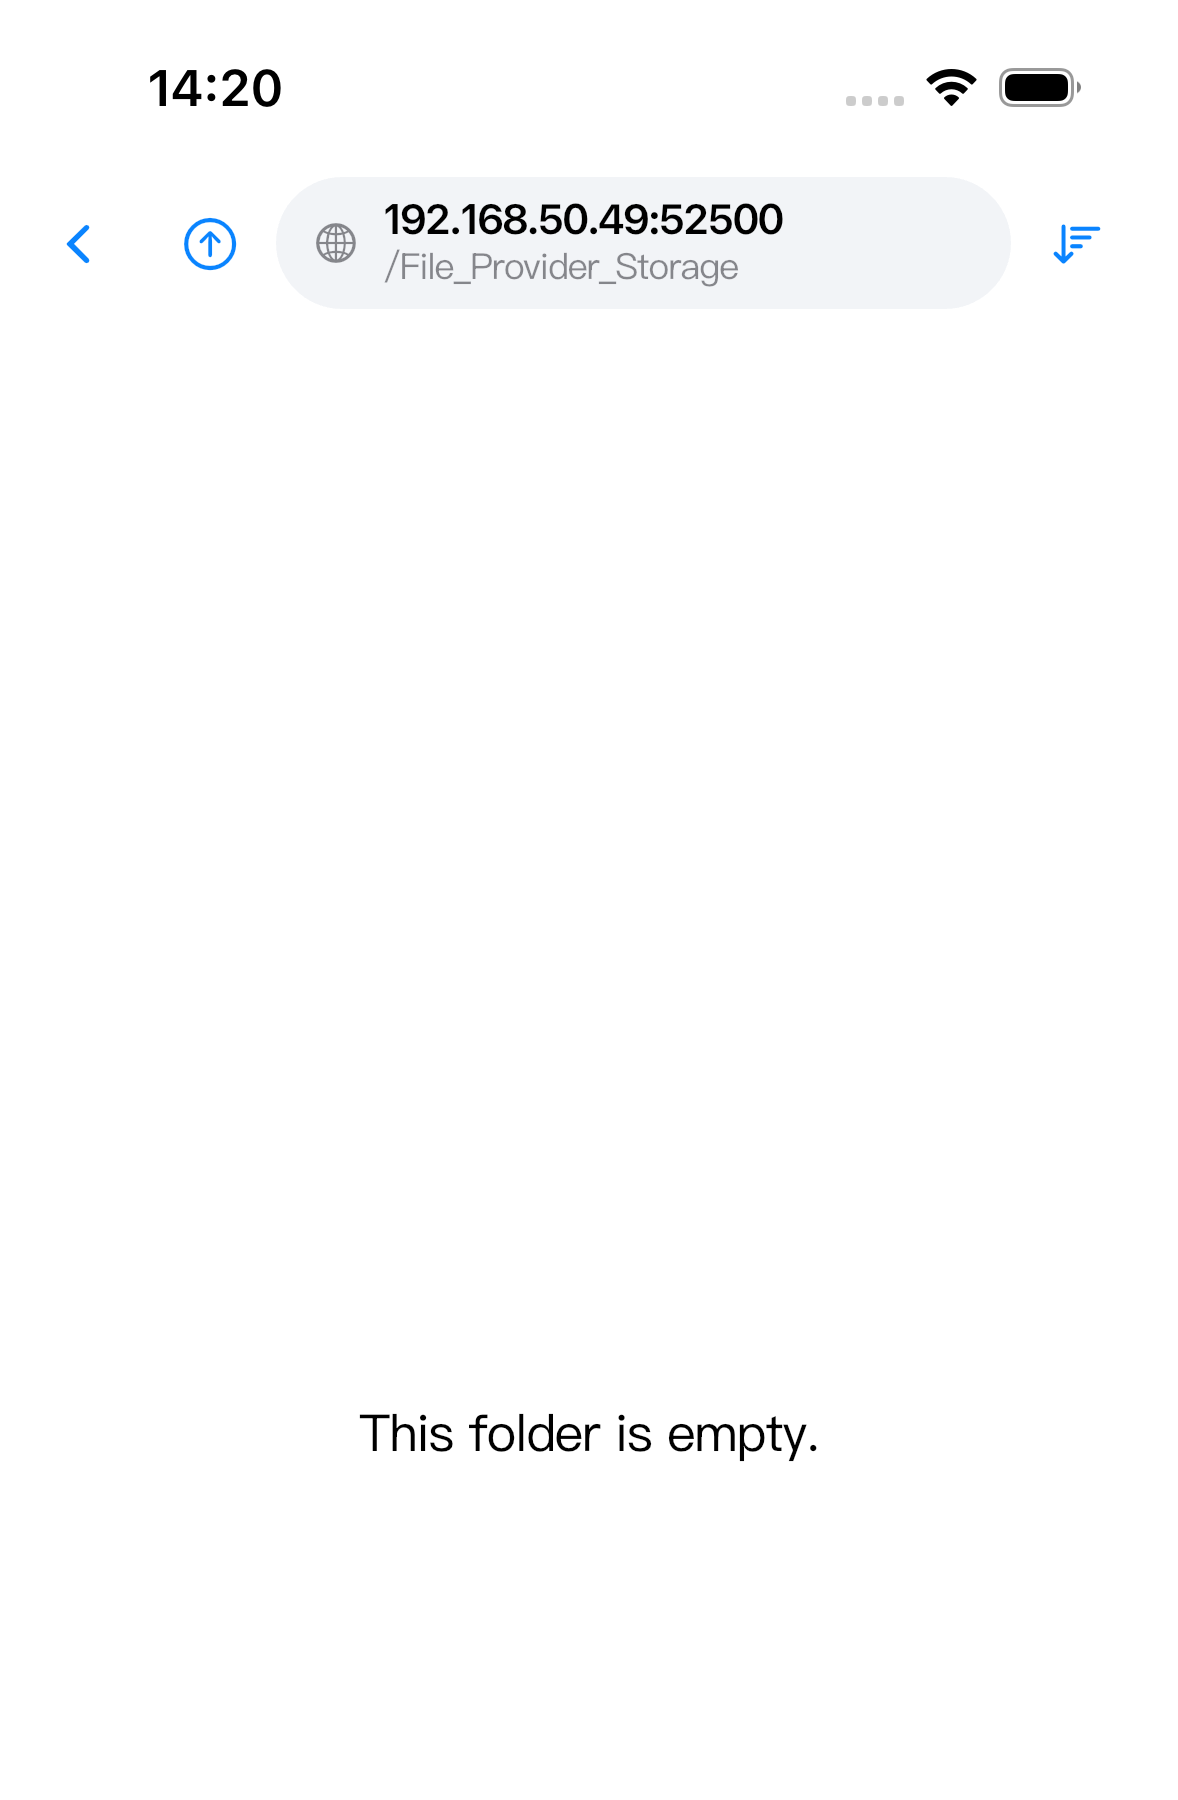
If Browser opens but the second device cannot connect, the app and data folder are working. Focus on network reachability: same Wi-Fi, no guest-network isolation, no VPN routing issue, and the current IP address and port copied exactly.
Common fixes
- Confirm both devices are on the same local network.
- Include
http://at the beginning of the URL. - Use the current address shown while the server is Running.
- If a TV app or media player shows an empty folder, test once from a desktop browser or another WebDAV client.
- If you later enable server lock, enter the configured username and password in the client.
After the client can list the folder and open a file, the server is ready to use.